
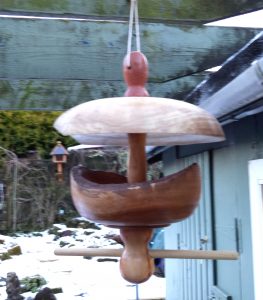
I saw a bird feeder on Pinterest similar to this and thought that it would be a very good project.
My concern was that if I just glued the pieces together, because it was all held up by the top finial it may come apart being outside during the winter. I first thought of thread chasing the various parts and screwing them all together, however that would have restricted the type of wood I could use. I decided that I would use 6mm screwed rod right through the feeder and put threaded inserts into the top and bottom finials.
Turn the bottom bowl, drill a 6mm hole through it and fix the screwed rod through it using nuts and washers. Remember to leave enough of the rod protruding for the bottom finial.
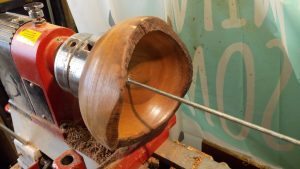
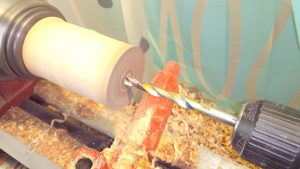
At this point, turn the top so that you can decide the height of the centre post. Again drill a 6mm hole through the centre while still on the lathe.
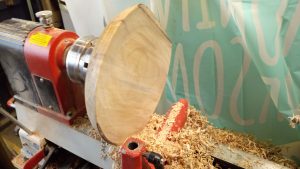
I used this hole to put a small screw chuck into which all owed me to remove the spigot from what is now the top of the feeder.
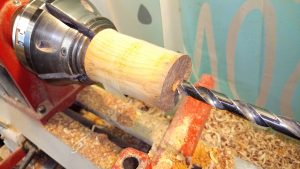
Decide the length you would like the centre post. I decide to make this one 120mm since I wanted to keep the magpies and seagulls out of it.
Drill a 6mm hole through the centre then drill a 13mm recess to hide the nut.
Screw it all together ready for the top and bottom finials.
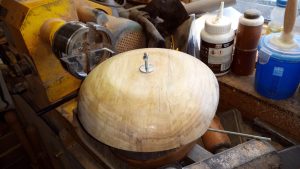
Turn the top finial and drill a hole through it for the cord.
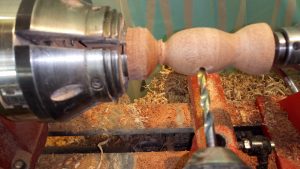
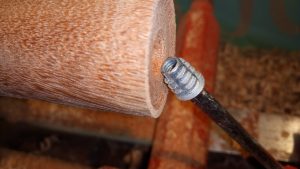
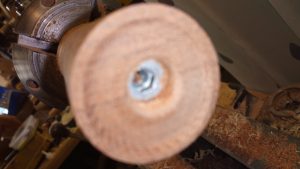
Drill the end. The inserts need a 9mm drill and again use a 13mm drill to make a recess for the nut on top of the cover.
Insert the threaded insert.
Screw on the top finial. 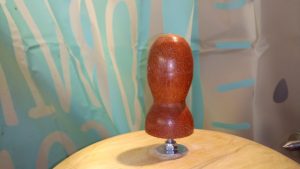
Make the bottom finial the same way. I decided to put a dowal perch through this finial so it was made larger than the top one.
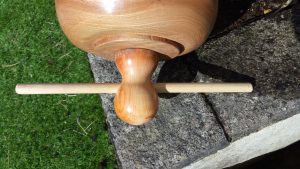
Screw the bottom finial on and that is your feeder finished.
Happy turning.